Layering with Help
I thought this would be cute on a glass
open it in PSP
(Paint Shop Pro)
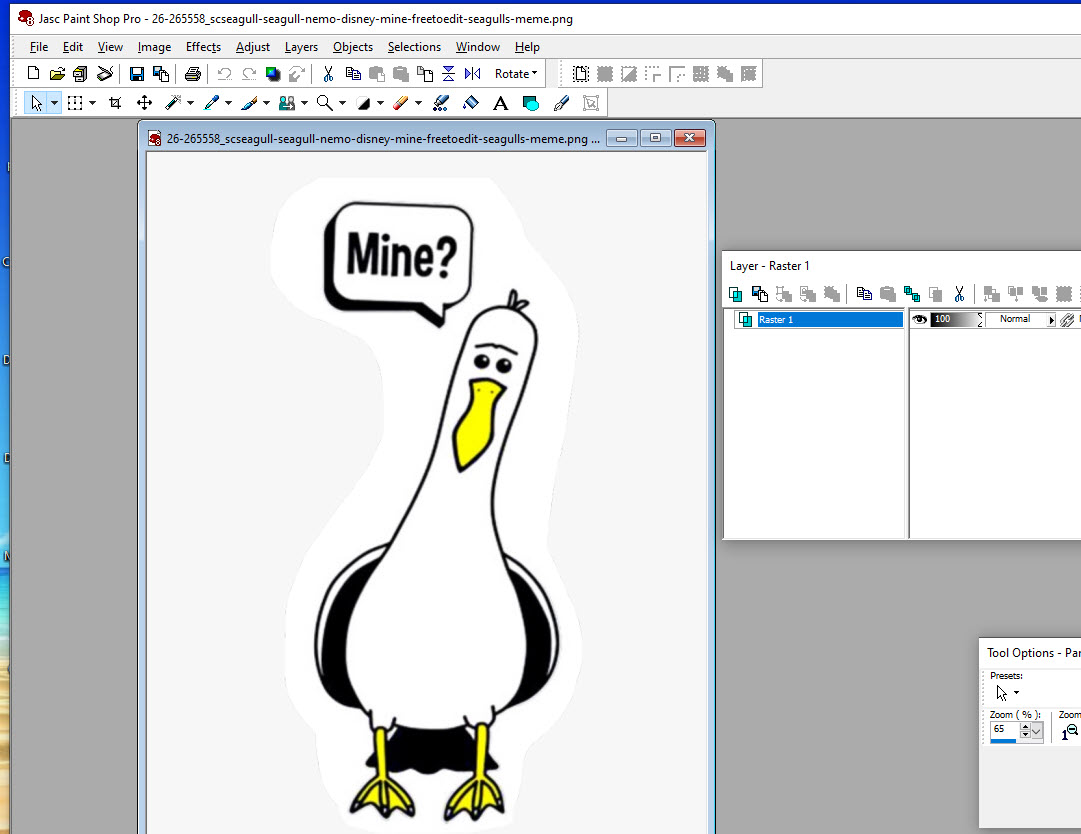
Notice the image is a png with a white background.
The layer palette is 100%
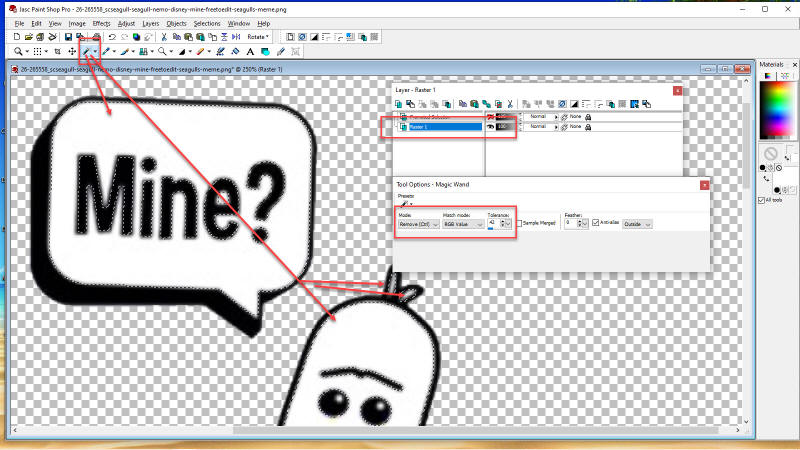
Click on the Magic Wand, click it in the white area
then click the scissors.

Background is gone.
Now to separate layers,
Click on the yellow parts. Hold the Shift button
while clicking on the yellow areas with the Magic Wand.
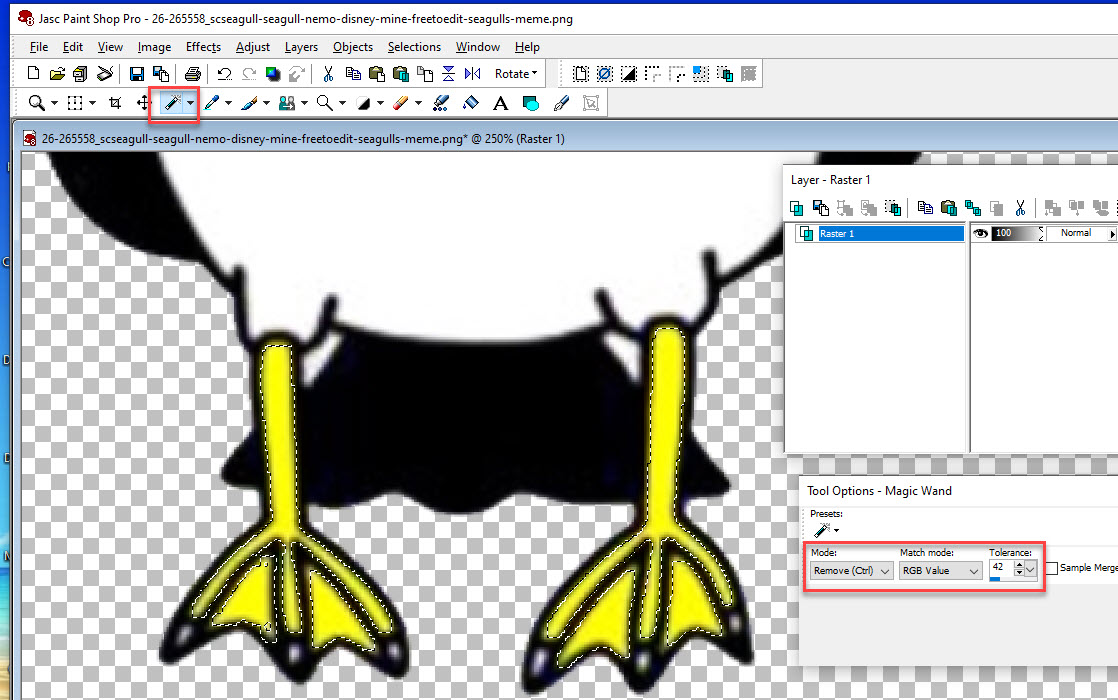
Release the shift button and click the magic wand
one more time and the yellow areas will 'Float'.
Make the yellow area a layer by clicking
on the icon to promote to layer.
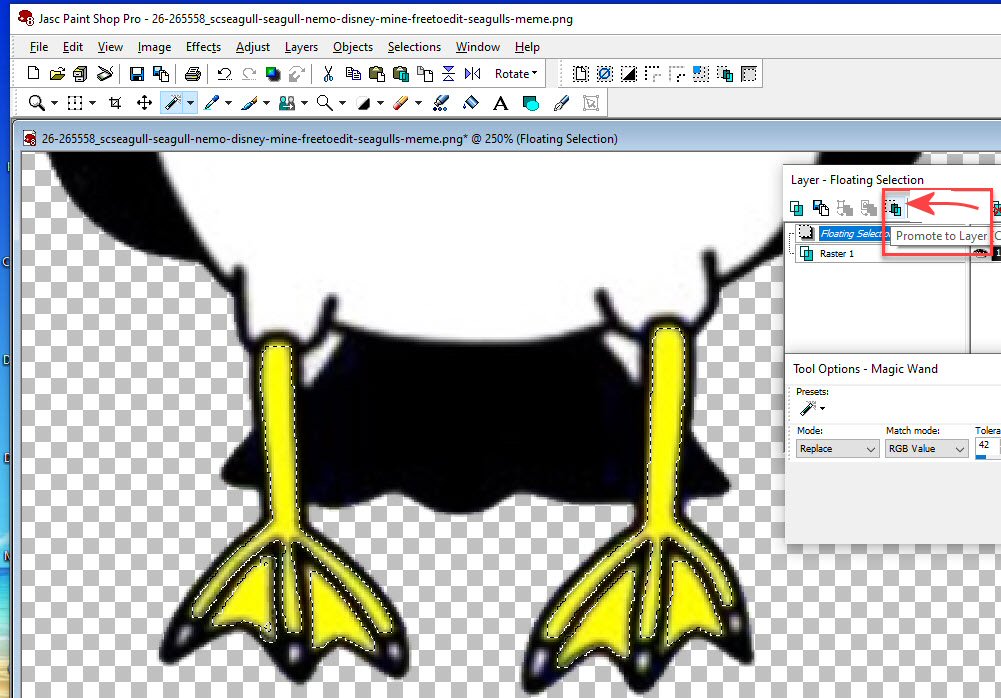
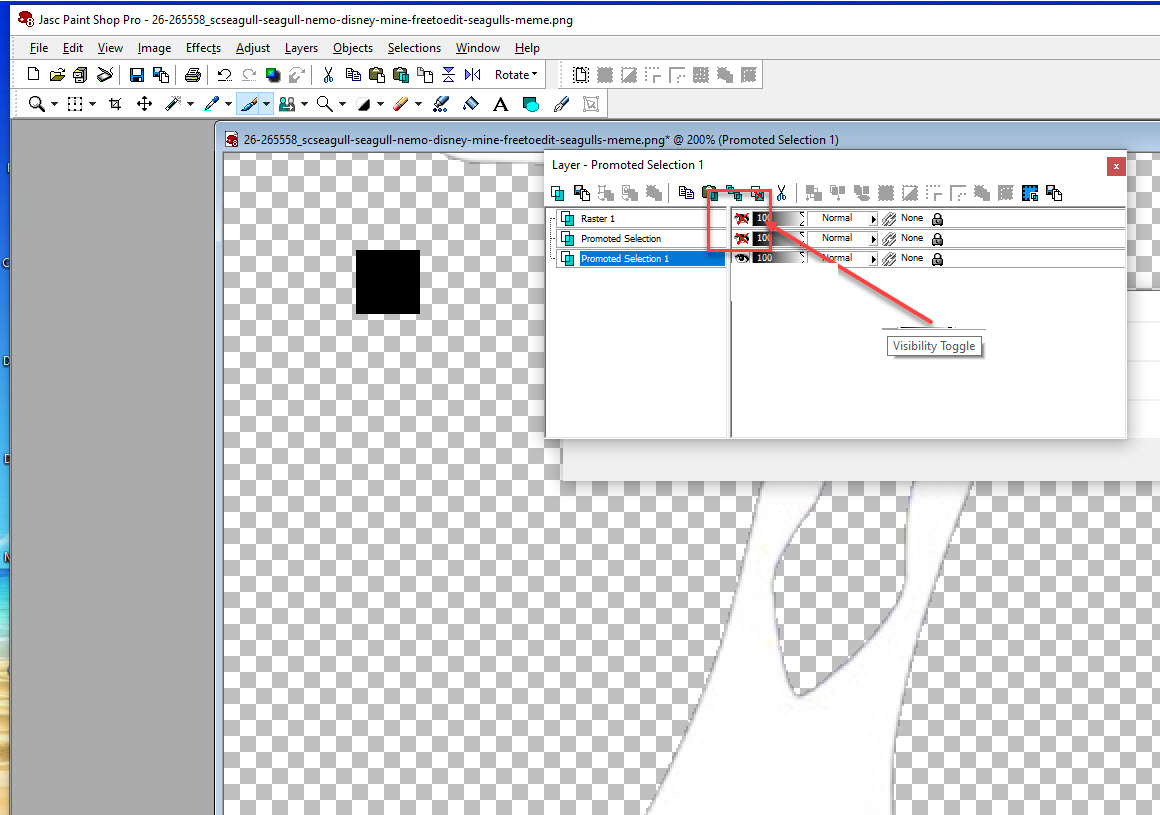
Now click on the eye to turn off visibility of the layer.
Make sure you click on the bottom layer for the next step.
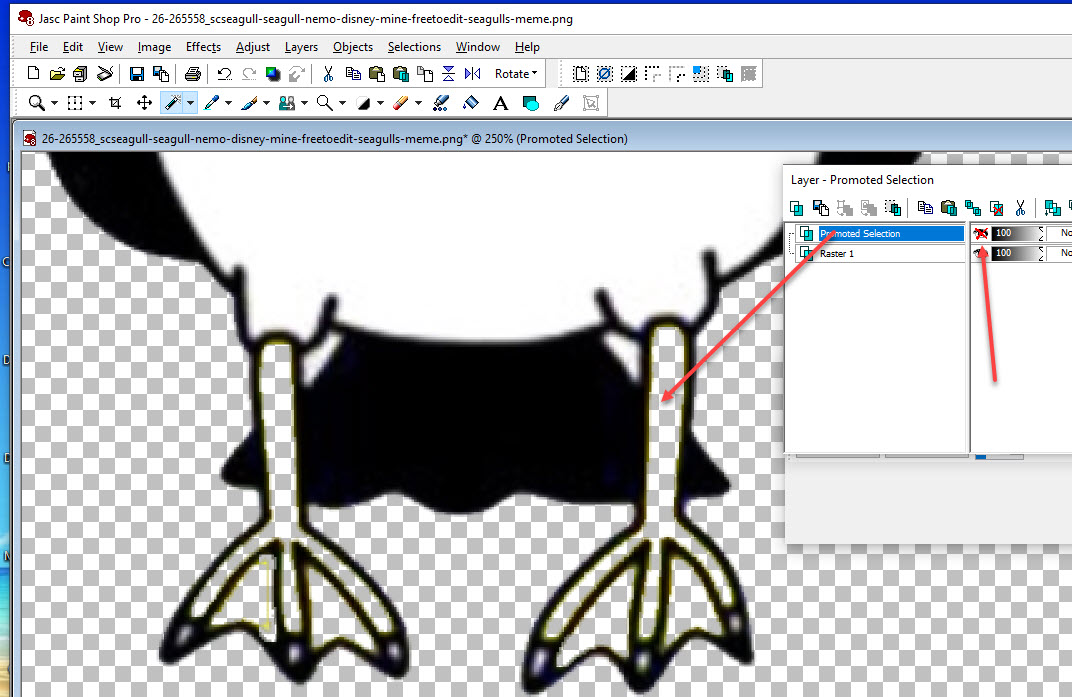
Now do the same steps again this time clicking on the white area
Now you sould have three layers total.
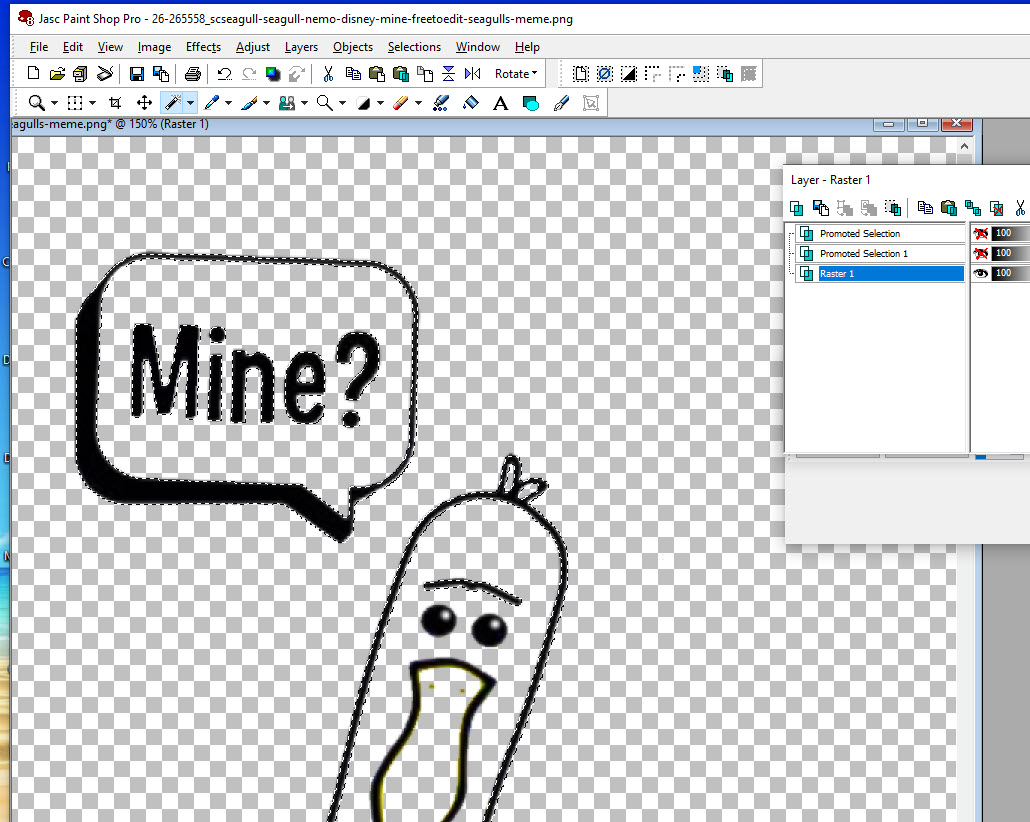
Re-click the eye on the layers to see all layers
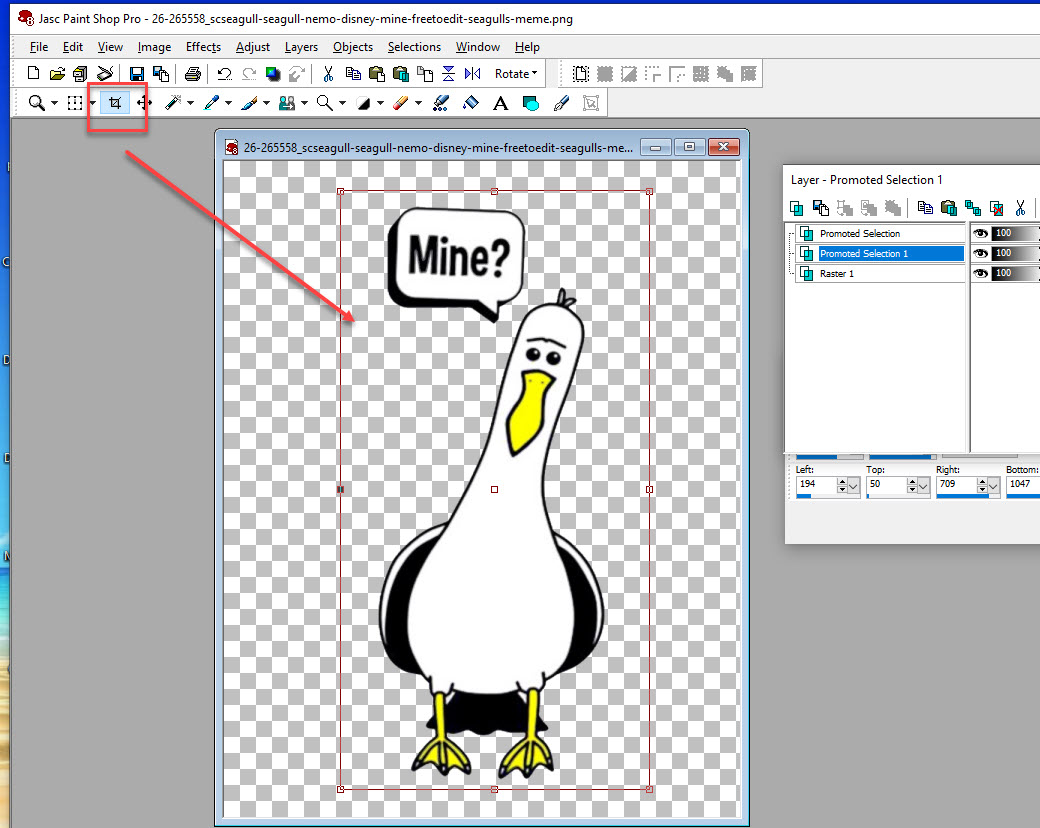
Click on the crop tool and crop un-necessary space
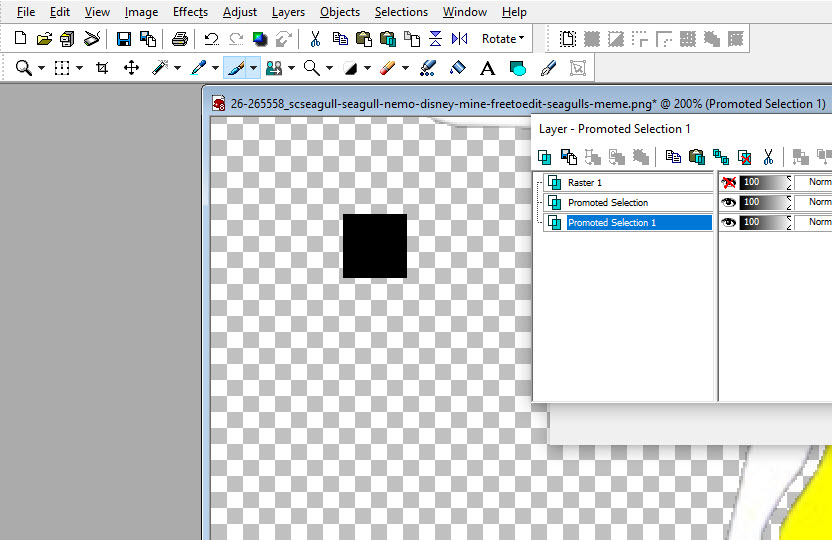
Use a color and the Brush tool to make a mark
so you can line up each layer.
Add the mark in the same place on each layer.
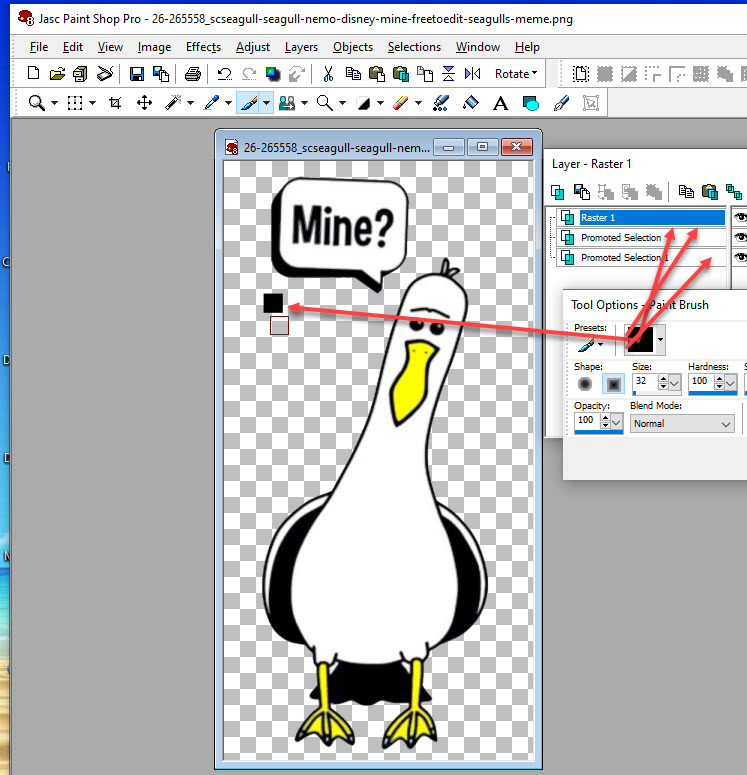
Like this
Now to separate the layers.
Hold the Shift button down and press D to
duplicate 3 times for 3 layers
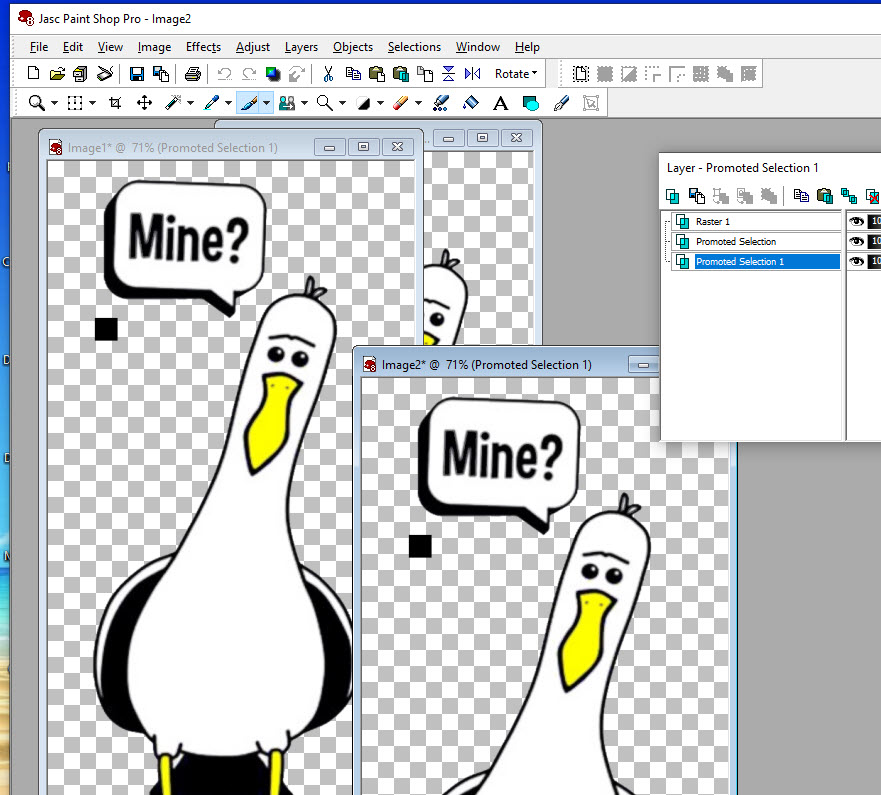
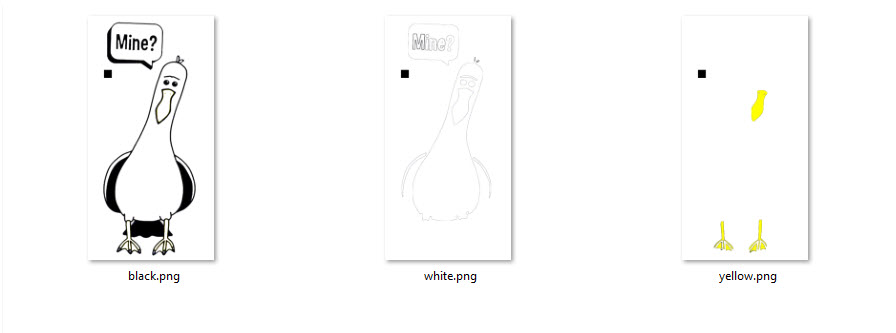
now hide the layers you don't need on each layer. And save each layer.
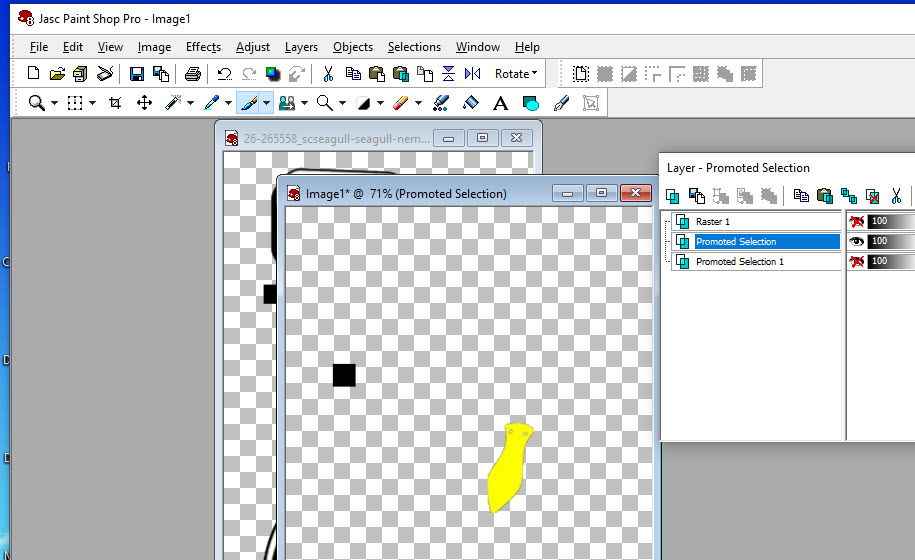
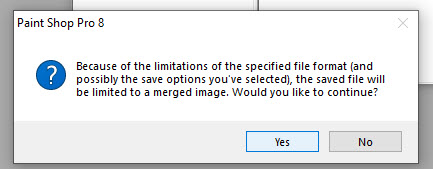
If you get this just click yes.
You should have the layers like this.
Open the layers in Sure Cuts A Lot and export them as svg
files.
Now cut them out on your machine using the 3 colors.
Line up the square and it should be perfect.
Of course cut the square away.
